Tutorial: How to Add Background Images in Email

This article originally appeared on our sister blog Email Design Workshop. We think it can be of interest to MailUp readers too, so here it is.
For today’s exciting workshop, we have a new feature introduced in the BEE editor of the MailUp platform: you can now add background images to your emails. We promise this is going to be your new favorite email design trick, so let’s dive in!

From developing integrations to strategic support, from creating creative concepts to optimizing results.
Background images in action
Start looking for them, and you’ll find images with text overlay in most emails in your inbox. Here’s an example from Skillshare:

Another from Huckberry:

And one from Brit + Co.:
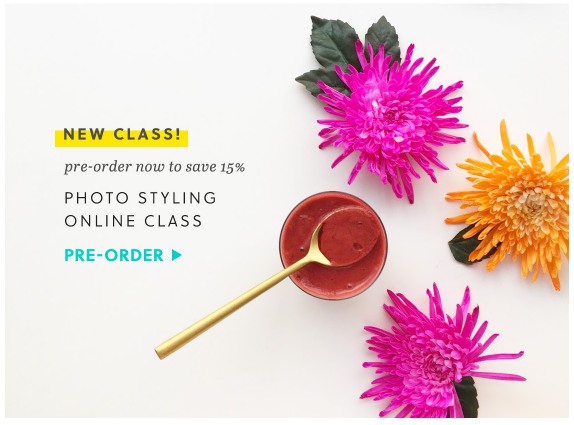
One from Everlane:
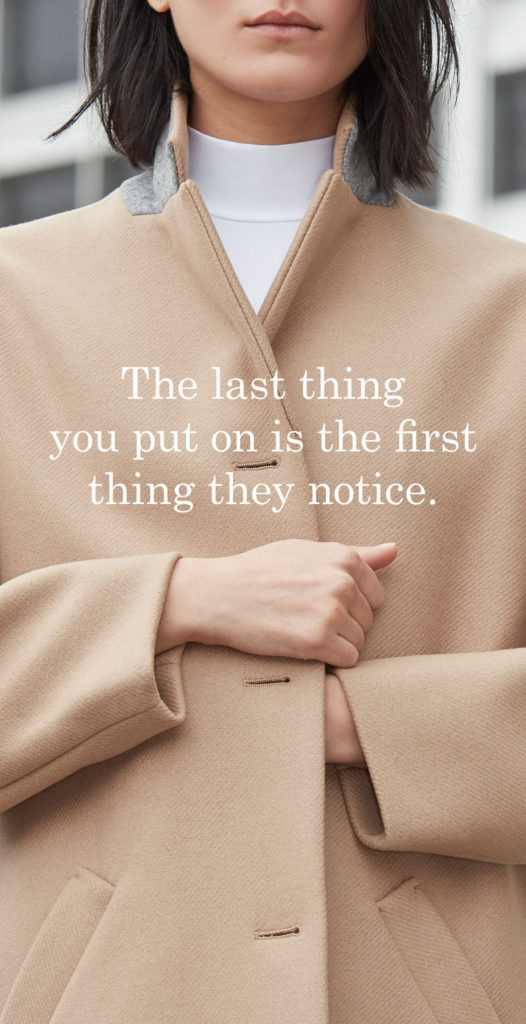
And on and on. Adding text to images is a great way to:
- Customize stock photos to make them your own
- Encourage readers to click on an image
- Bring text “above the fold” in your email (instead of positioning text beneath an image)
However, these “email background images” aren’t really background images at all. That’s because the text and the image are part of a single JPG, PNG, or other image file. The text isn’t plain text; it’s part of the image, added in Photoshop or with another tool. As a result, if the image doesn’t show up because of image-blocking, the text doesn’t appear either. And changing the text requires editing the image.
Today, we’re going to show you how to create true email background images with plain text on top. This means that even if your images don’t load, your text will be preserved, and changing the text does not require editing the image.
We’ll also show you how you can repeat an image across an entire row to create pattern or texture.
This new capability in the BEE email editor is one that designers have been asking for, so let’s take a look at how it works!
Using email background images
Let’s use this module from a Litmus email as today’s inspiration. We’ll recreate it in BEE.

Video tutorial
Want to see how to add a background image in your email quickly? Watch our video tutorial and follow along our detailed steps below:
Choose an email template
Open the BEE editor within your MailUp account – or create a free one to see how it works. Choose a template to get started. We typically choose the basic one-column template.
Enable the row background image
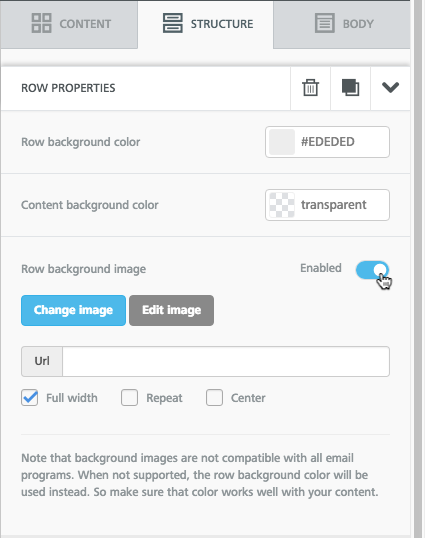
Simply click on any row of content, and you’ll see there’s now a Row background image option in the Structure menu in the right panel. Enable it, then click Change image to browse for a photo.
Browse for an image
You can find free, high-resolution stock photos in BEE, so let’s look for one. (You could also upload your own image or paste in an image URL).
On the next screen, tap the “myfiles” folder or open one of your folders from the file manager.

Then, press Search free photos CTA at the top.

Drawing inspiration from the Litmus email, let’s search “stars” or “night sky” to see what turns up.
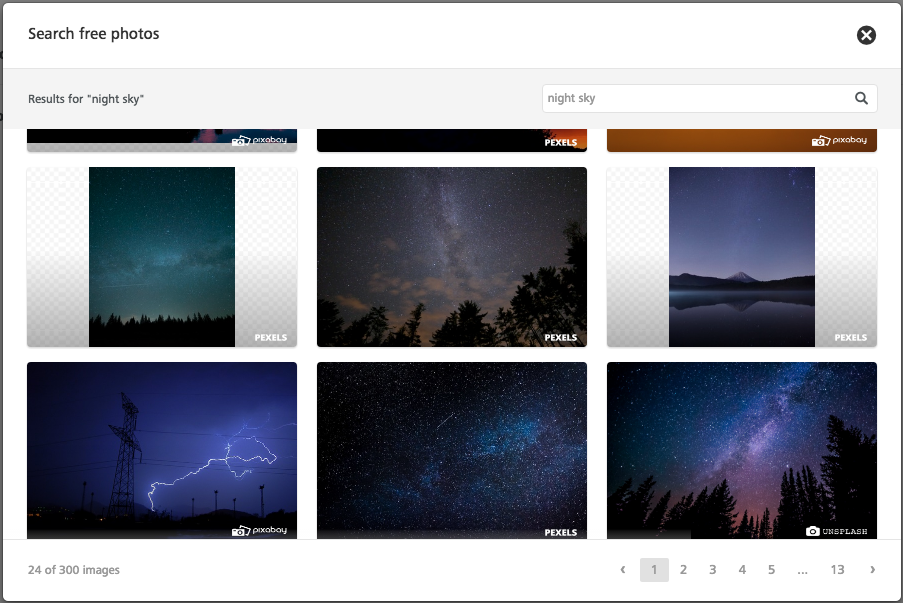
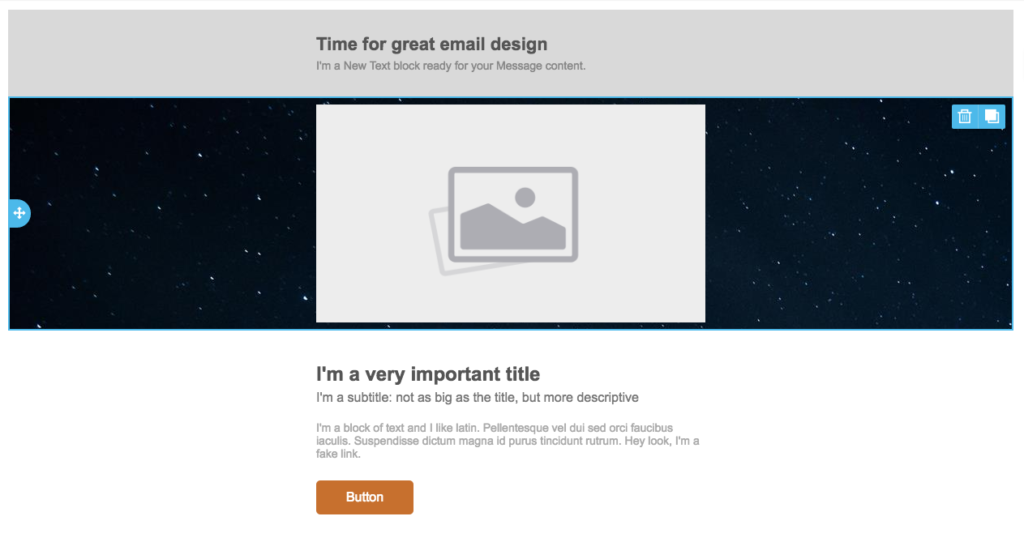
Choose an image to import, then insert it in the email. Here is the result:
Drag-and-drop content
Using the image placeholder that’s already in the template, add the calendar image by dragging it in. Continue adding content placeholders for the Litmus logo, text, and CTA button. After dragging and dropping each module, take a look at how the email is shaping up:

Notice how the text, images, and even the CTA button sit on top of the background image. This allows for plain text and a bulletproof CTA—email design best practices—to build the entire email all within BEE.
To finish up, add other necessary images and text, then format the styles, colors, and padding. Here’s how the finished product looks:

Pretty awesome, right? Email background images are simple and straightforward to use in BEE. With background images, your emails won’t just look beautiful—they’ll be more functional and effective than ever before.
Background image settings
Once you select your background image, you can also adjust how it appears in your email. There are three key settings: Full width, Repeat, and Center.
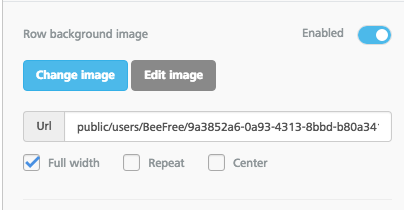
Use them to find the best fit for your background image. Select Repeat, for example, to create a pattern. This is especially useful if your image doesn’t span the entire width of the email but you want it to.
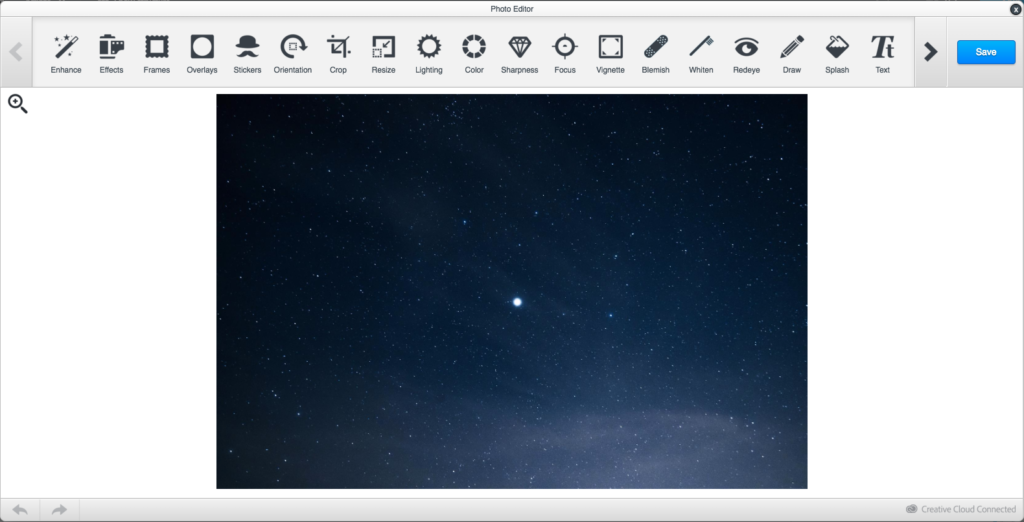
As with any image in BEE, you can also edit it using the built-in photo editor. You can always crop, filter, add in special effects, etc.
Email client compatibility & setting up a fallback background color
Just like with any advanced email design, you need to keep an eye if any mobile and email clients support bacground images. According to our recent tests, the only email clients that did not show email background images were:
- Outlook 2016 on MAC OS X 10.10
- Lotus Notes 7
- Xfinity / Comcast email client
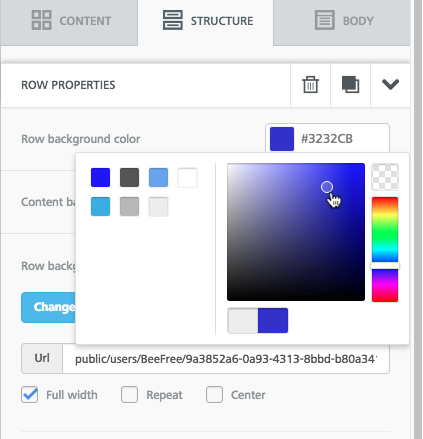
For those email clients (and for best results when images are blocked) make sure that you set a background color in the necessary row as a fallback background color in those cases when your background image doesn’t render.
To set a background color, simply select the row, then use your Structure menu to choose a Row background color or Content background color.
Wrap up
We hope you enjoy this new email background images feature, as we’re striving to build the Best Email Editor or BEE in short! If you’re not already using BEE, sign-up for a free trial of the MailUp platform and have access to additional templates and design features. Moreover, you can download our free Guide to Email Design to master all stages of email design!
